Friday, July 31, 2009

Shop close-out

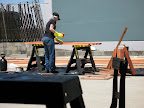
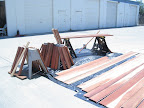
Well, it took a week to get rid of the stuff we didn't want to keep and clean out the shop.


We could have done it faster, but some unexpected life events came up that required our attention.

At the same time, I got rid of many books and other stuff. I can't believe all the books I really want to keep fit into just 2 boxes. I also got $4,000 from selling my furniture {SCORE!}.

Hopefully, the next post will show the roof framing done.

Monday, July 27, 2009

On the Road

There were a lot of last minute details before moving the trailer. We had to put lights on it, since the trailer lights were partly covered, attach our license plate, and fill it with stuff that we'll need to have with us at it's new location.


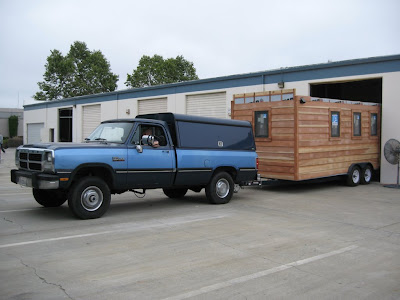
We usually have more vehicles in the parking lot, but Saturday we were lucky and the lot was mostly empty. This means there was enough room to get out of the space without using the Jeep. Rick's truck is an 8500 lbs, 20 foot long, Dodge diesel cummins - it was made to tow this kind of thing.


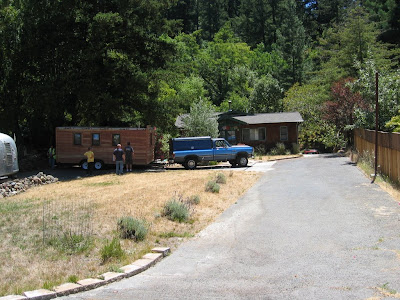
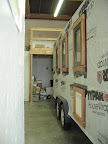
The ride was a bit bouncy, and took us, say, an hour and a half. We did city driving, freeway driving, and curvy 2-lane highway driving. The freeway was toughest because we stayed in the truck lanes which gave us some bouncing, but otherwise it was fine and the tiny house made it to its new location without a scratch.


Now we take a week off. We'll sort of. We take a week to do some down sizing and clear out our build space. Then it will be back to building.

Friday, July 24, 2009

Forward, but not out

I mentioned before that I wouldn't use the Jeep to tow the tiny house on the road. But I will use it to pull the tiny house out of the shop because the house and truck together are too long to maneuver in the parking lot. But hooking the trailer up to Jeep is slightly nerving as the bumper drops about 4 inches.


But, it pulled the tiny house forward just fine.


When I pulled forward, I had enough space to do some work on the porch and other pre-road trip work.


If all goes well, the next post should about the move to our friend's house.

Wednesday, July 22, 2009

The first move

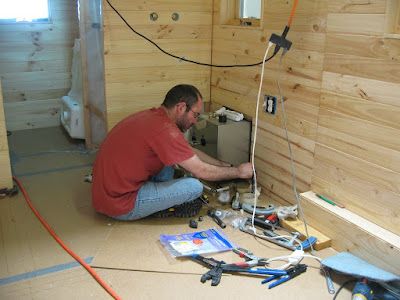
I've finished putting in the pipes for the propane system. All of the inside knotty pine is done (well, all that we'll do for now). The outside siding is done, but there is a bit more work to do on the porch. So I spent yesterday getting the tiny house ready for it's first move.


Several folks have asked us if our roll up door is tall enough to get the tiny house out of once the roof is on. The answer: nope. The roll up door is 12 feet high and the top of the tiny house, when it's done, will be 13' 6". Give or take.

Before we signed the lease for our build space we had an invitation to build our tiny house on some friend's property. But their house is nearly an hour and a half away. So we planned to to do the majority of building here, then tow the house to their place to put the roof on.
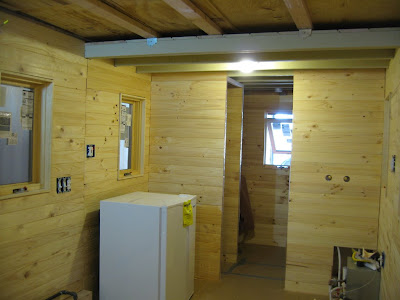


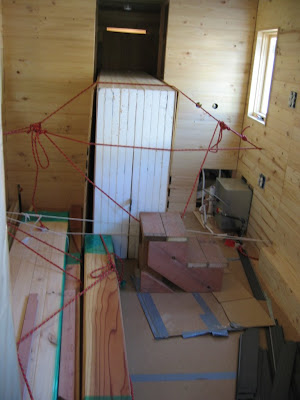
So I've screwed in some 1/2 inch, 4x8 sheets of plywood across what will be the opening up to the loft. I've also put a temporary door in place. We'll be moving the thing on Saturday.
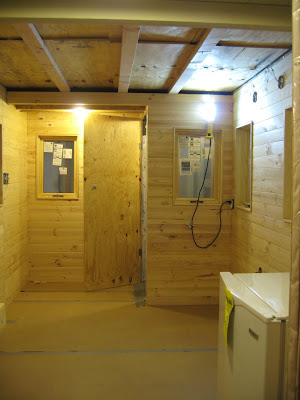


Once the house is at it's new home, we'll put a roof on, make the door and the cabinets, and finish things off. We may not get to the painting till we get to Seattle. In fact, there maybe several finishing touches to do it once we're there.

Saturday, July 18, 2009

Tiny Bungalow

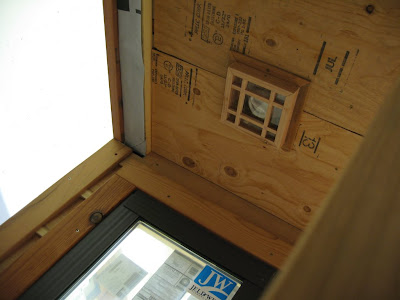
Our plan is for our tiny house to have a Arts and Crafts / Mission sort of look. To that end, I slapped together a mock up of the porch light fixture.


The final one will look a bit different, but will have the same sort of aesthetic.


See! The electrical system actually works!

Friday, July 17, 2009

Plan ahead

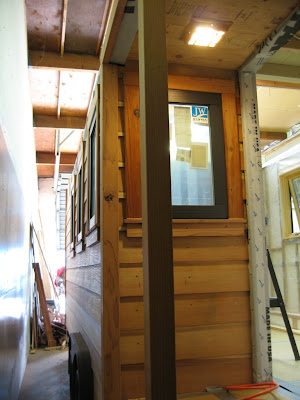
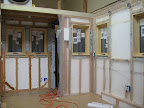
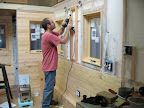
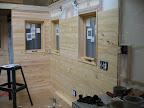
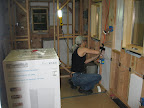
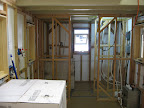
I'm usually pretty good about planning ahead, but occasionally I miss stuff. The three photos below illustrate this.


In the first, look between the two windows on the right and you see the vapor barrier over insulation. In the next, you see paneling up to the window level, the vapor barrier torn aside and me installing 2x2 framework. In the last one, the paneling is done.
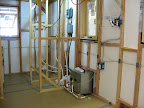
What happened is that I had put paneling up just a bit higher than in the second shot and remembered we were going to put our heater (lower left of the second photo) on this wall. Then I wondered what it was going to attach too. Then I got the heater out and read the instructions. Then I started ripping stuff apart to put a framework in place to attach the heater too. Of course it worked out fine, but took time I'd rather have not spent this way.


The thing that is time consuming - besides ripping stuff out and rebuilding it - is cutting all the notches around windows and outlets.

Wednesday, July 15, 2009

Latest update

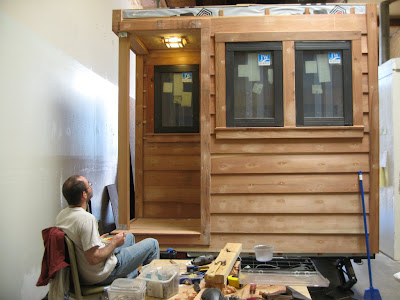
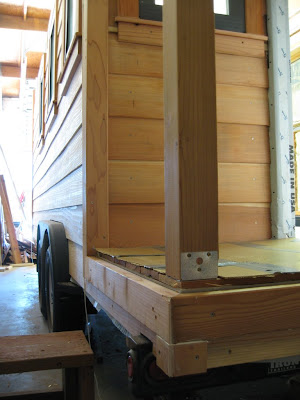
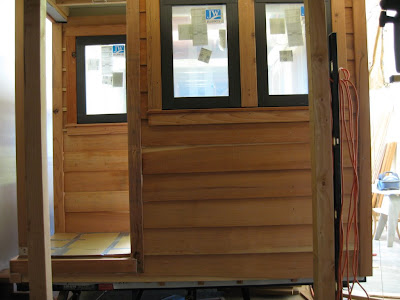
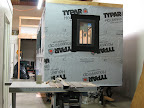
It is hard to get good photos of the front of the house (the back of the trailer) because of the way our shop is laid out, but here is a pic of some of the detail around the porch area. We have protective cover over the deck boards and don't yet have all the trim in place - notably around the door.


In the picture below you can see 2 4x4s in the foreground that aren't part of the house, but otherwise this should give you an idea of how the front of the house is coming together.


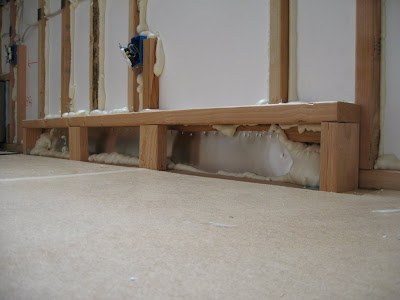
We wanted an insulated box around the wheel wells, so we build a simple 2x4 structure for that, and you can see that we have sealed the edges in most places with foam insulation.


The foam is a VOC free soy based insulation.

Thursday, July 9, 2009

More Siding

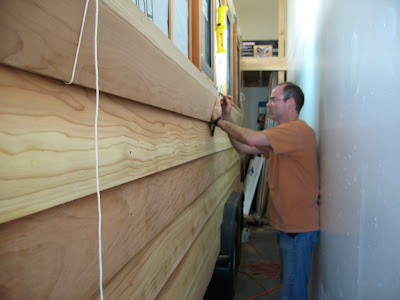
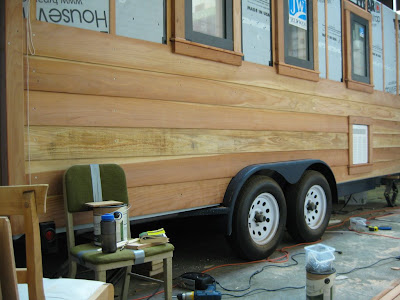
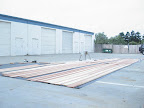
Working alone, I've had to find ways to deal with managing a 20 foot long board while marking it for accurate cuts. I hung a string from each corner and used an easy loop knot to quickly tie and untie the strings.


Originally I thought it would make it easy to start or stop a board at the same level as window trim, but even being as careful as I could, the window trim is not all perfectly level. It would be easier to see this right at the edge of a board, instead of near the middle. So it was probably more work to do it this way, but I think it looks better.


In the next picture you can see that the siding is nearly done. Except for the hardest part: near the door and windows at the front. Since we will be putting the roof on outside of our build space, this is about as high as we'll go for now.

Siding

Just a quick update:


The siding around the wheel wells and window details took a long time, but the rest went up pretty quick.


The string you see in the foreground is there because I was working alone and having a string at each end allowed me hang a board while I marked it for cutting.

Tuesday, July 7, 2009

Furring

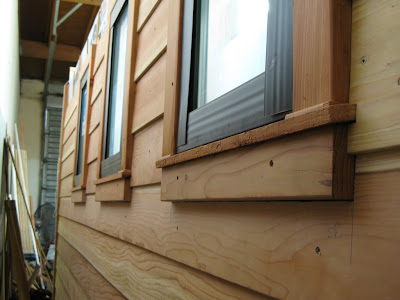
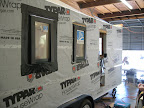
Furring creates an air space between the back of the siding and the house wrap. I think the idea is that it helps dry things out after a rain. These are just 1/4 inch by 1.5 inch strips of wood that go over the studs and around the trim.


In the next picture you can see the outside vent of our on-demand, propane hot water heater. The flange around this appliance didn't allow for a flush mount, so to accommodate some flashing that will help keep water from getting in around it, I went ahead and put trim around it just like the windows.


Siding is next!

Saturday, July 4, 2009

A week's worth of work

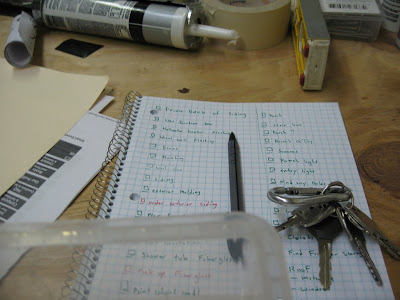
If anyone ever tells you that building a house - even a tiny one - is a lot of work, believe them. I've been working 12 hours a day for the last week. I make a todo list, and by the time I have scratched off half the items, I have added so many new ones, I just make a new list to keep it all neat.


So what have we done since our last post?
Windows:


Plumbing:


Insulation:


Back priming the siding:


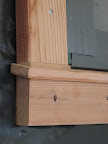
And started on the trim for the siding:


I know I should write more, but I'm going to bed!

As always, click the images for larger ones, and you can find the whole set here.